PRINT PLAN
Five print batches. Each one comes with something to learn while it prints, and unlocks the next build steps.
Start after the parts arrive and are measured. Small white parts first, the turret and wand second, the base third. About 10 hours 45 minutes of printing and 335 g of PLA in all. Order is by batch; the file names keep their plate numbers.
Printer settings for every batch
Times and grams are the slicer's estimates. Batch 2 has slower walls saved in its file for the thin head frame.
Before the first print
- 1Unbox everything and check it against the shopping list.
- 2Measure the Xia mi board, a servo, the wand battery pack, the arm switch, the power bank, the in-line switch, and the charge port with calipers.The print files use numbers from datasheets and photos. If a part is off by more than half a millimeter, the files get fixed before printing.
- 3Sort the M2 screws by length into cups.
Batch 1: The white pod and cable clipsWHITE PLA
About 35 minutes · 11 g · plate file 4
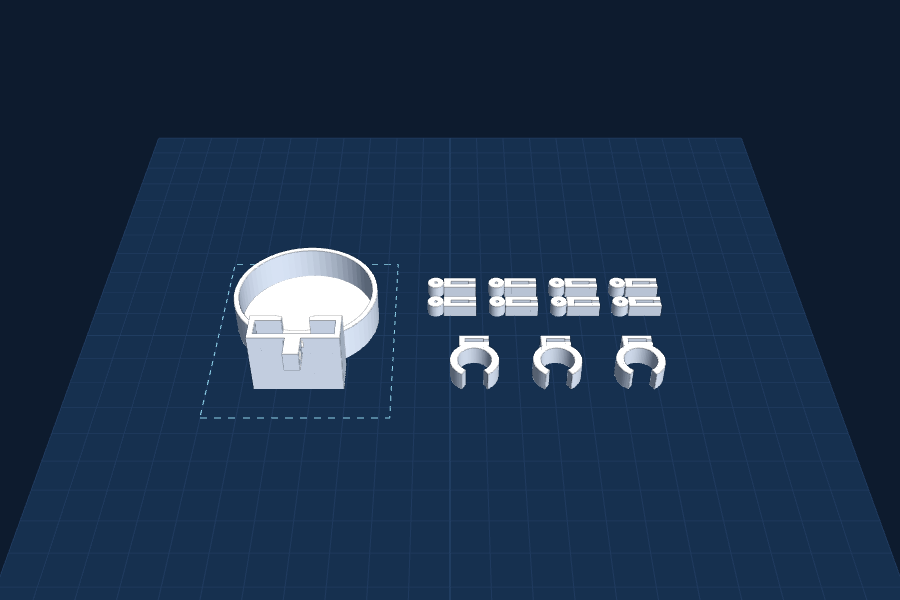
Short and small, so it is a good first test of the printer. It has to be white: white plastic lets light spread through it, so the whole cup glows when the laser dot lands anywhere on its face.
Why white?
- 1Hold a flashlight behind a white sheet of paper, then a black one.Which one lets light through? White scatters light. Black soaks it up and turns it into a tiny bit of heat.
- 2Write down what you saw. That is your first science note.
When it is done
- 1Peel the cup off the bed and hold it up to a lamp.The face should glow evenly. If you can see holes, a grown-up prints it again a little slower.
- 2Snap a cable clip onto a piece of fishing line.It should slide along the line without falling off.
- 3Put the cup and clips in a bag labeled MOSQUITO.
Batch 2: Turret head, turntable, and wand
About 3.5 hours · 77 g · plate file 3
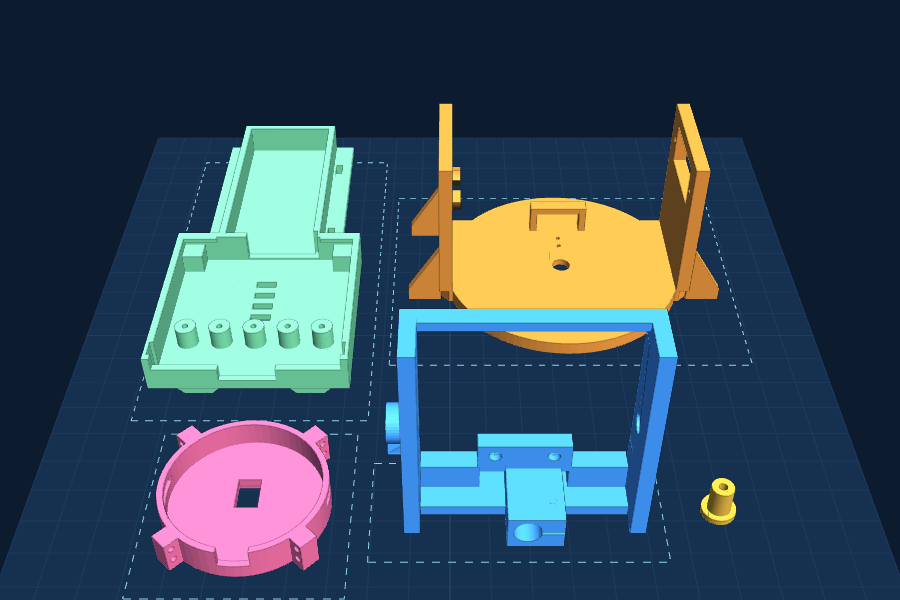
The moving parts of the turret, plus the wand and the back of the pod. After this batch the mosquito and wand can be built.
Meet the micro:bit
- 1Open makecode.microbit.org and make the micro:bit show a heart when you press button A.Code is a list of steps the computer follows exactly.
- 2Add "show number light level" inside a forever loop. Cover the LEDs with your hand.The number goes down in the dark. The light sensor in the mosquito works the same way.
When it is done
- 1Pop the parts off and peel away the brim.
- 2Push the pivot pin through the left side of the yoke.It should turn without wobbling.
- 3Press the pod back into the white cup.It should fit snug.
- 4Set the micro:bit on the wand handle.The holes in the micro:bit edge line up with the round bosses.
Batch 3: Base shell
About 3 hours 15 minutes · 131 g · plate file 1
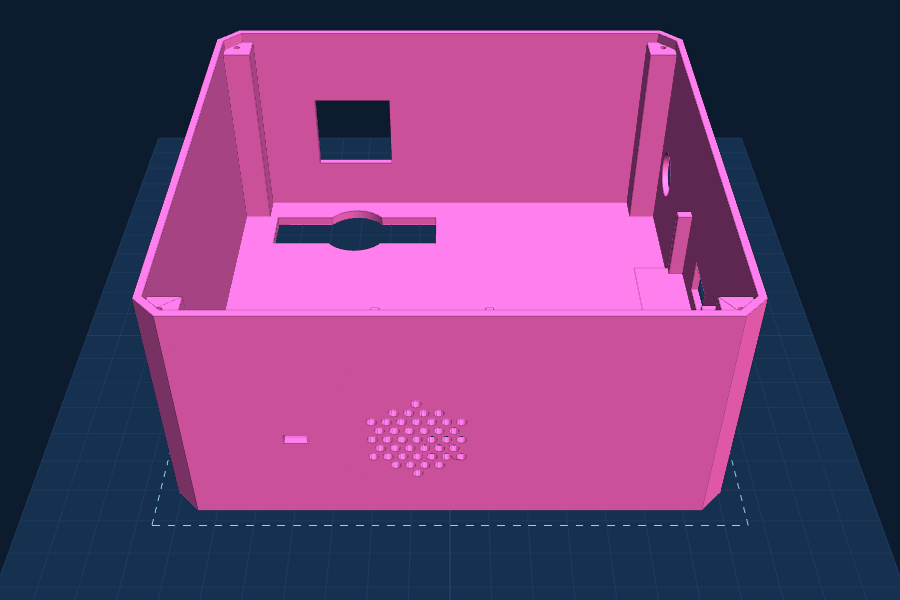
The biggest part. It prints upside down so the deck the turntable sits on comes out flat.
Teach a camera
- 1Plug the HuskyLens into a USB power bank. Pick Object Tracking on its screen.HuskyLens can run on USB power by itself, no board needed.
- 2Point it at a toy and press the learn button. Move the toy around.A box follows the toy. The camera learned what it looks like from the pictures it took.
When it is done
- 1Let the bed cool, then lift the shell off and peel away the brim.
- 2Check the charge port and the in-line switch line up with their holes in the right wall.The power bank sits inside now, so there is no side bay. Its cradle is on the floor plate in batch 4.
- 3Check the arm switch and speaker fit their holes in the back wall.
Batch 4: Floor plate and one backdrop foot
About 1 hour 55 minutes · 72 g · plate file 2
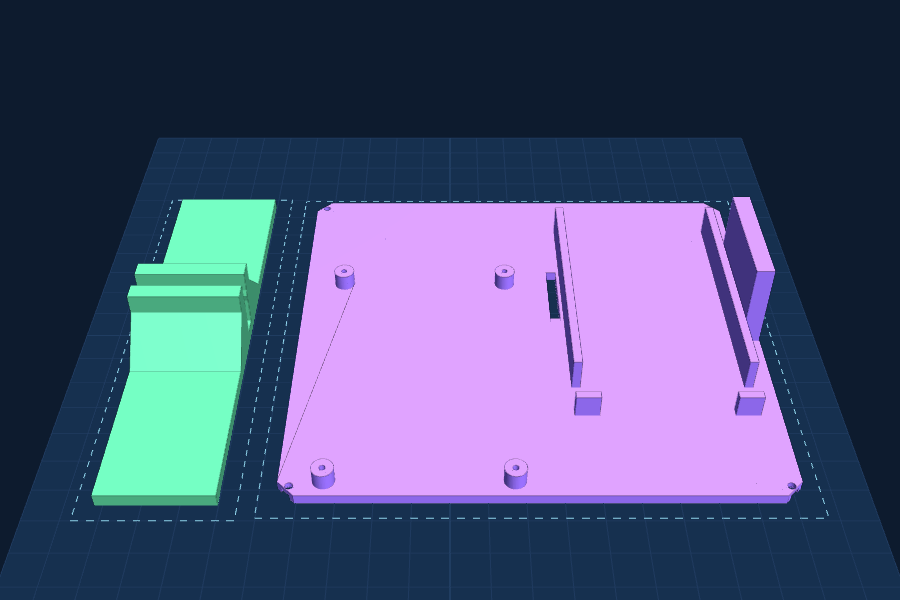
The floor closes up the base, so after this batch the whole turret can be built.
Make a servo move
- 1Plug a servo into the board and code it: servo to 0, pause, servo to 180.A servo turns to the exact angle you ask for, then holds it.
- 2Try 90. Where does it point?Pan means turning left and right. Tilt means turning up and down.
When it is done
- 1Screw the Xia mi board onto the floor posts.If the holes do not line up, the floor gets reprinted with the measured spacing.
- 2Check the power bank drops into its cradle on the right half, ports facing the front.The strap goes through the two slots in the floor.
- 3Screw the floor into the shell from underneath.
How a power bank works
- 1Plug the power bank into a USB-C phone charger and watch its four lights.Each light is about a quarter full. When all four stay on, it is charged. Inside the turret the lights are hidden, so charge it before every session.
- 2Why does a power bank make the speed test fairer than AA batteries?Batteries slowly lose voltage as they drain, so servos slow down. The bank gives a steady 5 volts, so the servos move at the same speed on run 1 and run 30.
Batch 5: Pendulum pivot, backdrop clip, second foot
About 1.5 hours · 44 g · plate file 5
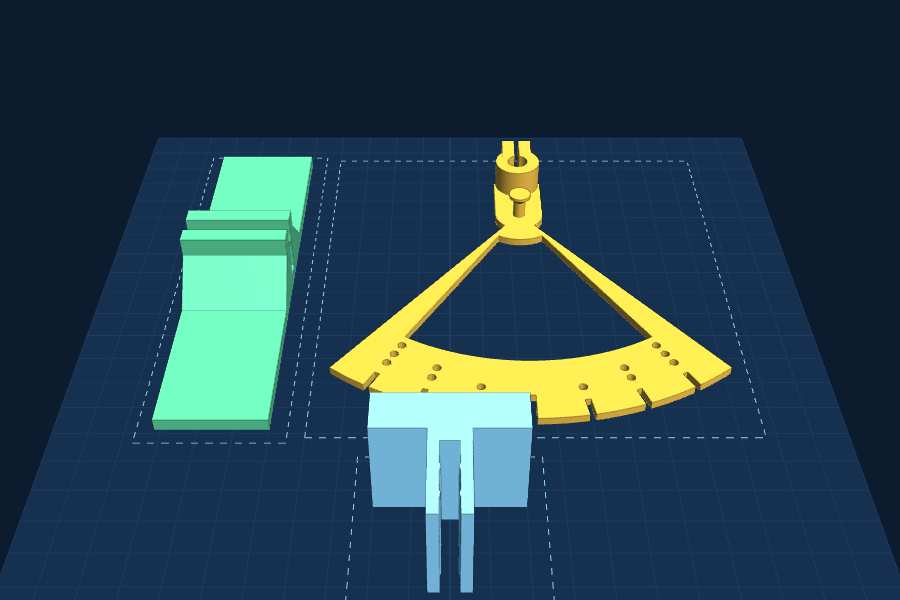
The test stand. The pivot has notches for 10, 20, and 30 degrees so every swing starts from the same place.
Swing a pendulum
- 1Tie a washer to a string. Pull it back a little and let go. Then pull it back a lot.Which one moves faster at the bottom? A bigger pull-back means more speed.
- 2Count swings for 10 seconds both times.Surprise: the number is almost the same. Galileo noticed this more than 400 years ago.
When it is done
- 1Push both feet onto the bottom of the black foam board.
- 2Push the clip onto the top edge and slide the dowel in.The dowel should stick straight out toward where the turret will sit.
- 3Clamp the pivot on the end of the dowel and loop the line over the peg.